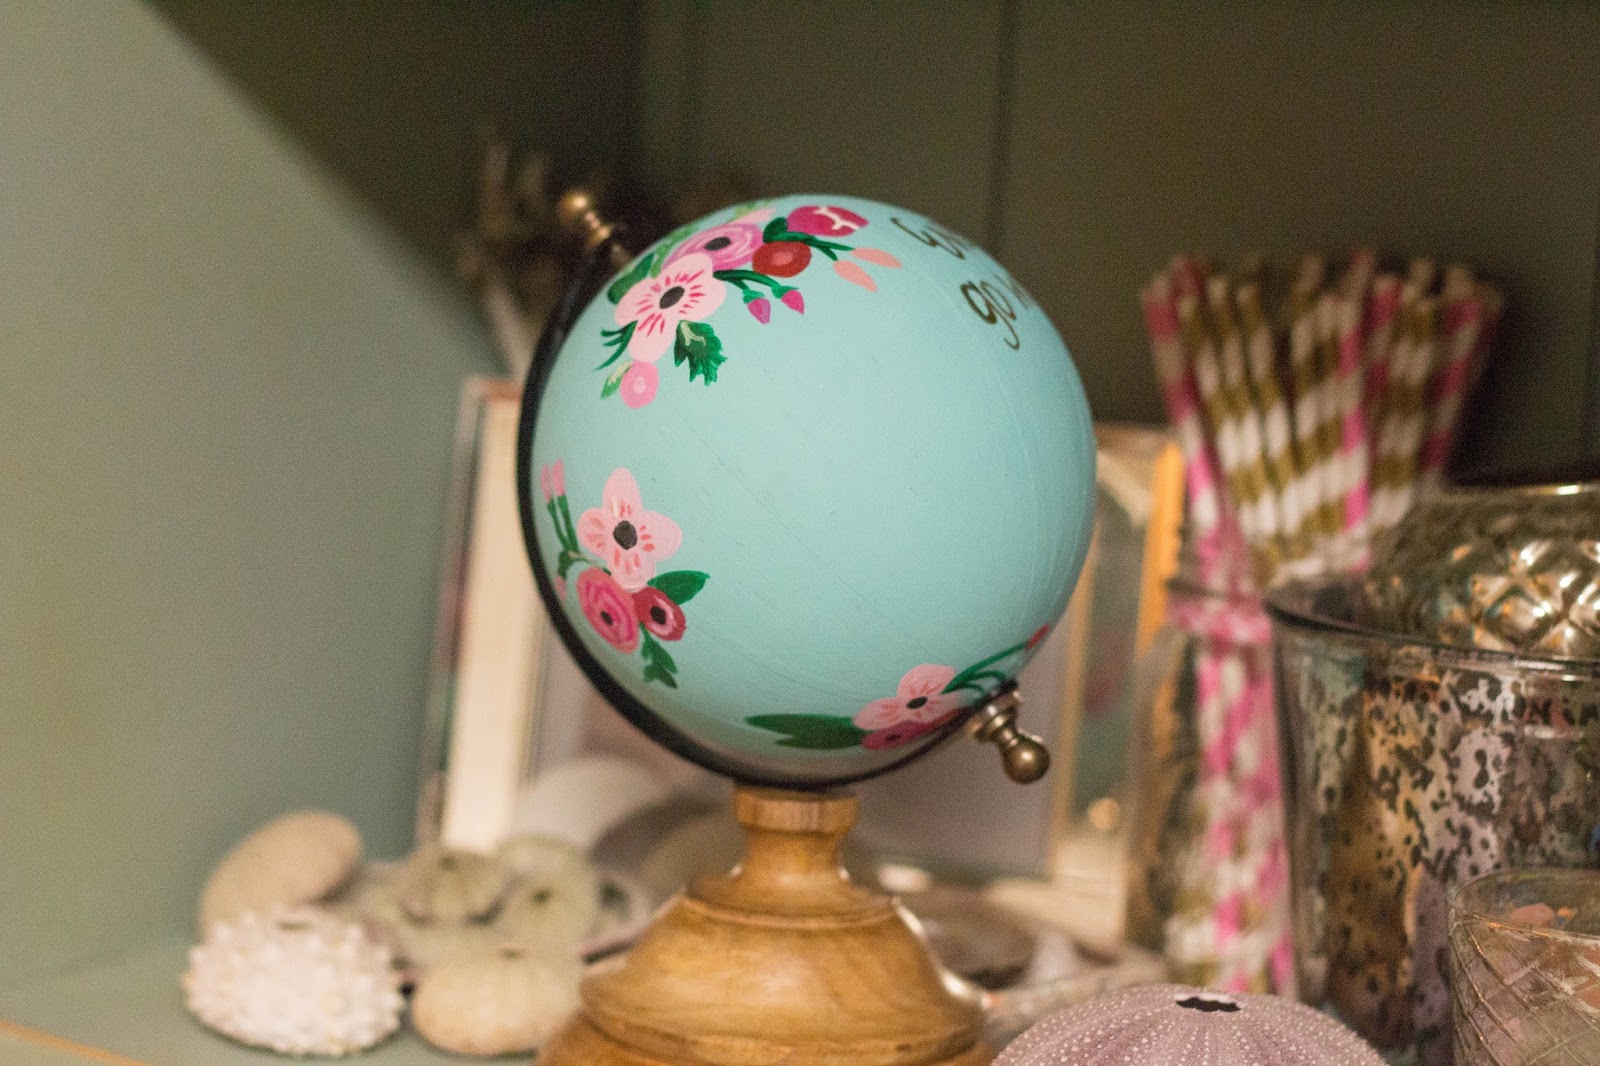
In 2013 I was gifted my DSLR for my birthday. It was shiny, new and CONFUSING. I was intimidated by all the bells and whistles and didn't find myself reaching for it as often as I should have. Fast forward nine months when I received Adobe Lightroom for Christmas and I realized it was time to learn.
I want to start this by saying I am still learning my camera (please let's hope that never stops) but these are just some tips that I feel have helped me along the way. Two years after receiving my camera I finally had the courage to embark on my own
photography business so I hope if anything, I can pass along a little "you can do this" attitude.
First - take that camera out of AUTO! Sure your DSLR is an upgrade from a point and shoot. It naturally will take better photos. But I promise you that while your camera is smart, you are smarter. I tried to shoot in manual so many times and the pictures would be 100% black. I seriously had no idea what I was doing. So I bought myself a book and began watching YouTube videos on how to master it.
These guys are some of my favorites.
There are three fundamental things you need to know to understand picture taking. I am going to give a super brief non technical explanation on all three - there are plenty of better more savvy explanations out there. Google your heart out.
Aperture / ISO / Shutter Speed
Aperture is how open or closed your lens is. The smaller your aperture (also referred to as f stop), the larger the opening of the lens. Thus allowing more light into your photo and creating that blurred background we all love. The smaller the f-stop the more in focus your subject is and the more out of focus your background. Works well for portrait photography. The larger the f-stop the more in focus things will be, think group photos and landscapes.
 |
50mm lens 1.8 1/250 1600
low light required me to crank the ISO |
ISO
ISO is the sensor for light on your camera. The lower the ISO number (100, 200) the less sensitive it is to light. The higher the ISO number the more sensitive it is to light. So in a total simplified explanation think of it like this. When you are outside taking photos on a sunny day your ISO should stay relatively low. There is an abundance of natural light so you don't need to make your camera more sensitive to it. As you begin to lose daylight or head indoors you need to increase the ISO. The higher your ISO the more digital noise you add to your photos - basically they start to look grainy. General rule of thumb is try and keep your ISO low as possible.
 |
50mm lens 1.8 1/125 800
(indoor photo with window as light source) |
Shutter Speed
This is how long your shutter stays open to allow in light. A slower shutter speed (1/60) will allow in more light than say (1/125). However you have to keep in mind your subject. If your shooting something that is not moving like food you can probably go as slow as 1/60 (in my opinion anything under 1/60 you should use a tripod to avoid camera shake - and to make it more confusing different rules apply to different lenses.) For anything moving you need to use a faster shutter speed. Faster shutter speed equates to less light so you need to adjust your aperture or ISO to balance for this.
The trick to all of this is that aperture, ISO and shutter speed all work together. In order to understand how they work together it's imperative to understand how they work separately.
I also bought this
book when I first got my camera and it helped to understand when to increase one value over the other, more importantly it told the why.
Another important aspect is white balance. A lot of cameras shoot in AWB (auto white balance) which I feel in general gets it pretty close. However it's guessing and why guess when you know since you're taking the photo. Familiarize yourself with how to get it right from the beginning to cut down on editing post production. Here is an example of bad white balance - please don't pay attention to any other details the photo was in my "I don't know what I am doing" stage.
See how the image on the left is way too cool (kelvin wise)? On your camera you can select your white balance (or completely customize it) but it has icons to give you a suggestion. Sunny, shady, tungsten (indoors), flash etc. Play around with it and you will get the hang of it. This is also relatively easy to fix in editing software. There are great tips and tricks
HERE.
My biggest piece of advice is to
practice, practice, practice. Every time I pick up my camera I learn a little more about it. I would suggest upgrading your kit lens to a "
nifty fifty" which is a small investment to make on a lens. Most lenses will cost you hundreds but this is a good one to get if you only ever buy one. Nikon version
here.
Some other things I have learned along the way:
Discover your style and remain consistent.
Keep reading/watching/learning on ways to improve your photography - don't let it intimidate you!
Find other people whose photos you love and learn from them, I reach out to people for advice and questions all the time. Don't be shy, more often than not people are happy to help.
Most importantly HAVE FUN (gosh I am such a mom) but seriously, it's fun so have fun with it!
If you have a question I am happy to (try) and answer it!
Happy picture shooting!


